101
Related Articles
Canning foods is not just for the advanced homesteader. While it might seem intimidating at first, it can become easy and fun with a few tips, tools, and techniques.
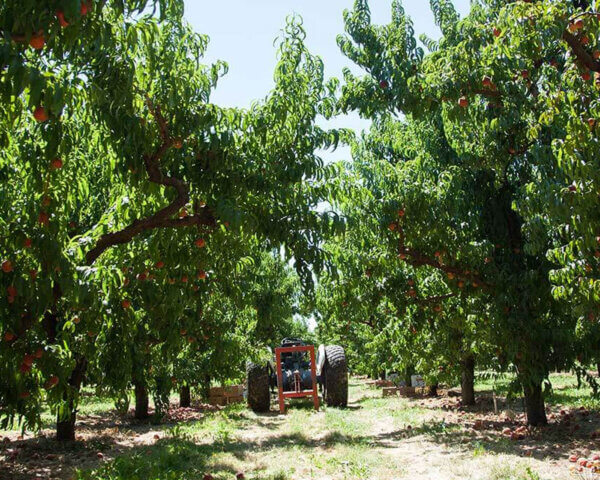
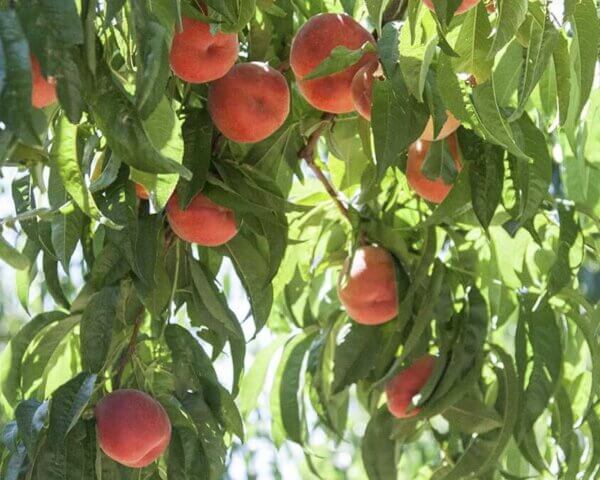
When you can foods, you have access to high-quality, shelf-stable foods year-round. It is the best way to capture summer’s peak produce, like sweet tomatoes, peaches, crunchy cucumbers, and green beans. You probably already have most of what you need to start canning in your pantry, but in case you’re missing something, any Metropolitan Market store can help you fill in the blanks.
The simplest and most common style of canning is called “water bath canning.” It involves packing either highly acidic foods, like pickles, or sugar-preserved foods, like jams and jellies, into jars and processing them in boiling water in order to control enzymes and microorganisms that naturally occur in food and can cause spoilage. Low acid foods like beans, vegetables, meats, poultry, and seafood must be processed under pressure to ensure food safety, so no water bath canning for them!
The high heat associated with this process aids in sterilizing, while the internal and external temperature differences of the jar create a vacuum seal. A sealed, airtight environment prevents the reintroduction of airborne microorganisms and counteracts oxidation.

It’s best to set out a plan for what you’re going to can and work in a linear fashion. With water bath canning, there are a couple choices for how to approach the process, and it all depends on your product, recipe and what your time and schedule allows. Your recipe should specify if you’re hot packing or cold packing.
- Hot pack – Adding hot pickling brine or syrup to the product prior to transferring to a jar.
- Raw pack or cold pack – Filling the jars with freshly prepared, unheated product and brine or syrup.
Setting Yourself up for Success
When it’s time to can, set yourself up for success by creating an assembly line with all the tools you’ll need:
- Canning jars – You must use jars designed for canning, popular brands like Kerr or Le Parfait are available at Metropolitan Market
- Single-use lids and screw-on rings
- A pot with a lid that is tall enough to cover your jars plus one inch with boiling water
- A rack or trivet that fits at the bottom of your pot
- Metal or wood skewer


Other helpful tools include:
- A wide-mouth funnel to fill your jars
- Paper towels and high-proof alcohol for wiping the edges of your jar
- A backup kettle of boiling water
- Long tongs, jar lifter, or rack to lift your finished jars from the water
- Magnetic lid grabber to handle hot lids
- Air pocket remover or head spacer tool
- Oven mitt or towels to handle the hot jars
-
Prepare your fillings following the recipe directions. When you start canning, it’s super important to carefully follow the recipe.
-
Before you fill the jars for canning, you must sanitize your jars and lids. After washing your jars thoroughly, place both your jars and lids on a baking sheet and place them in a 280°F oven for ten minutes or until they are thoroughly dried. Once you remove the jars from the oven, they are ready to fill. Sanitation aside, heating the jars in the oven will also help to temper the glass so you will not end up placing cold glass into hot boiling water, which may cause the glass to shatter.
-
During this time, start your water bath. You will need to fill your large pot with enough water to cover your jars by an inch. Add a rack or trivet to the bottom of your pot to prevent the jars from touching the hot surface on the bottom of the pot. If you don’t have the proper rack, you can improvise by placing a folded towel in the bottom of the pot. Start bringing this water to a boil. Sometimes the water temperature for this step will vary based on your recipe but with such a large amount of water, getting a head start on boiling water will prevent you from having to stand around waiting for it to get hot down the line!
-
Fill your jars with your pickles, jams, or fruits leaving about half an inch of headspace – this is crucial. Overfilling your jars may lead to your items bubbling over during the water bath canning process, which will prevent your jars from developing a secure seal.
-
Run a skewer around the inside edge of the jar to get rid of air bubbles. Wipe off any excess spillage at the edge of the jars that may interfere with the seal. I like to use clean paper towels dabbed in a little high-proof alcohol, but any clean wiping implement should do. Place the lids and screw-on rings firmly but not tight, around each jar. Remember: The lids used for canning are single use, so you need new lids each time.
-
Carefully place the jars into the hot water making sure that there is enough hot water to fully submerge them. Having a backup kettle of boiling water will help in this case.
-
Boil for the allotted time based on the recipe you’re following. Once the timer goes off, turn off the heat and leave the jars to rest in the hot water for five to ten minutes. Use a jar lifter or long tongs with an oven mitt to grab each jar out of the water and place it on top of a drying rack. Be careful not to bang the jars or place the jars on any cold surfaces.
-
Rest the jars for 12 to 24 hours in a cool dry place. You’ll begin to hear that wonderful popping sound that comes from knowing that your jars are sealing successfully!
-
Before storing, test that the jars have sealed properly by pressing down on the center lid with your index finger. If the lid recesses inward with slight pressure and makes a popping sound, there is still air in the jar, and it did not properly seal. You can set the unsealed ones aside or place them in the refrigerator for immediate use. Label your canned foods with the contents and date and store them in a cool, dark, and dry place.
Though the canning process might seem daunting, one can begin the canning journey with as little as one jar of fruit or pickles. Once you have the process dialed in, you can easily adapt it to any recipe of pickles, jams, salsas, and more. There are many steps and opportunities to get family and friends involved, creating wonderful traditions over the summertime with the added bonus of abundance to enjoy over winter!
